On this page
- What lubing actually does
- Factory-lubed vs hand-lubed
- When hand-lubing is worth the effort
- What lube to use
- Krytox 205g0
- Krytox 105
- Tribosys 3203 / 3204
- Krytox 205g2
- Quick lube comparison
- Tools you'll need
- Step-by-step workflow (linear)
- 1. Open the switch
- 2. Lube the bottom housing
- 3. Lube the stem legs
- 4. Lube the spring
- 5. Lube your stabs while you're at it
- 6. Reassemble
- 7. Test your work
- 8. Install and repeat
- Common mistakes
- When NOT to lube
- Quick sanity check
- FAQ
Lubing switches is one of those hobby rituals that looks intimidating from the outside but is genuinely simple once you've done a handful. The real question isn't how to lube — it's whether you need to. Thanks to the rise of factory-lubed switches, the answer for most buyers today is "probably not," but the ones for whom it still pays off get a lot out of the effort.
What lubing actually does
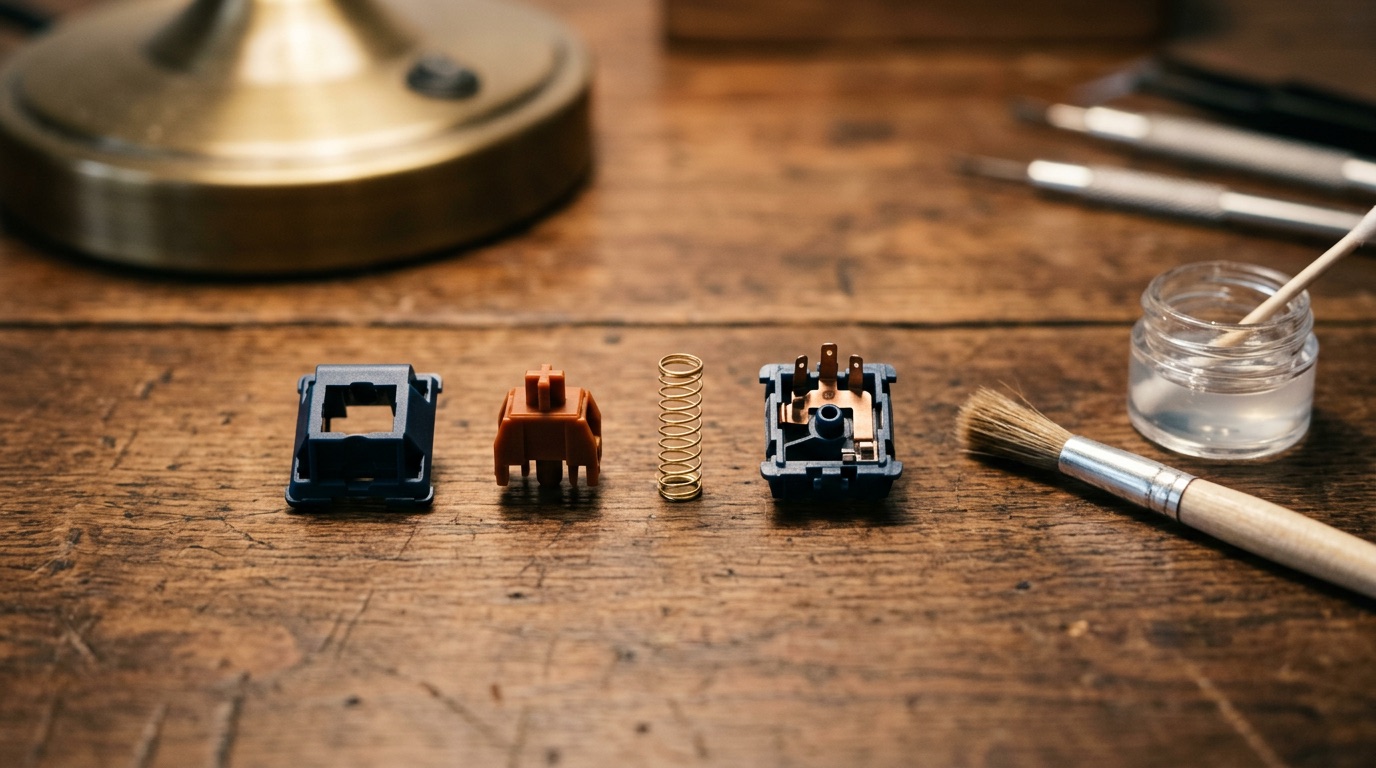
Inside an MX-style switch, plastic surfaces slide against each other on every keypress: the stem against the housing rails, the stem legs against the leaf (on tactiles and clickies), and the spring against the bottom housing. Any of those contacts can make noise (scratch, ping, rattle) and can feel rough.
Lube fills microscopic surface irregularities, dampens the spring, and cushions contact points. A well-lubed switch sounds fuller and smoother, and feels noticeably less scratchy.
Factory-lubed vs hand-lubed
Five years ago, factory lube was a red flag — usually meant too much in all the wrong places. Today, Gateron, Akko, Durock, and Kailh's premium lines all ship with competent factory lubing that's good enough for most users.
| Criterion | Factory-lubed | Hand-lubed |
|---|---|---|
| Consistency | High (machine-applied) | Varies by patience and skill |
| Application quality | Conservative (avoids sluggishness) | Can be tuned for max smoothness |
| Time cost | Zero | 1–2 hours per 100 switches |
| Trade-off | Slightly less optimal | Better if done right, worse if done wrong |
| Cost premium | Usually $3–8/switch-pack | Lube itself is $10–20, brushes $5 |
These factory-lubed switches are smooth enough out of the box that most people will be perfectly happy. If you'd prefer to skip the hand-lube ritual entirely, these are great picks.
When hand-lubing is worth the effort
Hand-lubing makes a real difference in these situations:
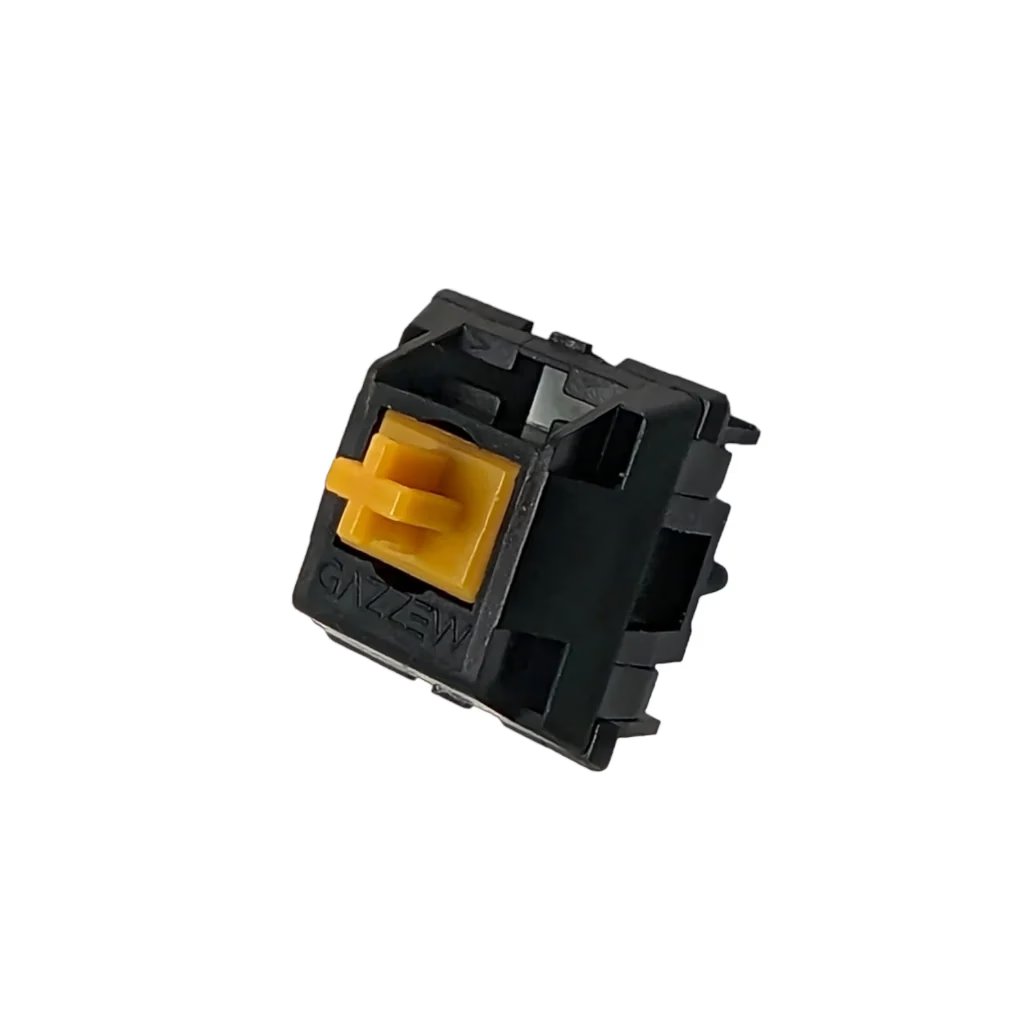
- Unlubed premium switches (Gazzew Boba U4T, ZealPC Zealios, some Cherry specialty runs). These are designed to be tuned — they're smooth enough unlubed to be fine, and transformative lubed.
- Old stock / discount switches you scored cheap. A good lube job on a $25/100 set can make them rival $60/100 premium ones.
- Stock Cherry MX switches (Red, Brown, Black). Cherry has not adopted factory lubing. Stock Cherry lives on scratchiness. Lubing Cherry MX is one of the highest-reward lubing jobs in the hobby.
- Tactile switches where you want a sharper bump. Heavier lube dampens the bump; thinner lube sharpens it. Tuning matters.
What lube to use
The community has converged on a small set of known-good lubes:
Krytox 205g0
The default for linear switches. Medium viscosity, neutral, forgiving. If you're doing your first switch lube job and you want linear feel, 205g0 is what you buy.
Krytox 105
Oil, not grease. Used specifically on springs (a technique called "bag lubing" where you drop springs into a plastic bag with a few drops of 105, shake, and let dry). Cuts spring ping and crunch.
Tribosys 3203 / 3204
Slightly thinner than 205g0. 3203 is lighter (better for tactiles where you don't want to mute the bump); 3204 is in between 3203 and 205g0.
Krytox 205g2
Thicker than 205g0. Used sparingly for silent-linear purists. Too much and the switch feels sluggish.
A starter kit is: Krytox 205g0 + Krytox 105 oil + a small detail brush. That covers 95% of cases.
Quick lube comparison
| Lube | Form | Best for | Avoid for |
|---|---|---|---|
| Krytox 205g0 | Grease (NLGI 0) | Linears, stabs | Tactiles (mutes the bump) |
| Krytox 105 | Oil | Springs only (bag-lube) | Stem/housing (too thin to stay) |
| Tribosys 3203 | Thin grease | Tactiles (preserves bump) | Heavy-spring linears |
| Tribosys 3204 | Mid grease | Linears wanting lighter feel | Tactiles (still slightly mutes) |
| Krytox 205g2 | Thick grease | Silent-linears | Most builds (sluggish) |
If you're buying one product: Krytox 205g0. If you can buy two: add Krytox 105. Everything else is fine-tuning.
Tools you'll need
- Switch opener. $5–10 accessory for a specific switch family (Kailh, MX-style, Box, etc.). Saves a ton of time vs prying with a flathead.
- Switch tray or "lube station." Little holders that grip 24 switch housings at once so you can lube them in batches. Not essential but speeds things up.
- Detail brush. Size 0 or smaller, flat or round. Cheap from any art supply store.
- Tweezers. To handle spring and stem without getting lube on your fingers.
- Patience. 100 switches takes 1–3 hours the first time.
Step-by-step workflow (linear)
The first 10 switches will feel awkward. By switch 30 you'll have a rhythm. By switch 80 you'll be faster than you expected. This sequence is the fastest path to a consistent result.
1. Open the switch
Use a switch opener — a $5–10 jig that pries all four housing clips at once. Separate into four pieces: top housing, stem, spring, bottom housing. Keep them organised — a 24-pocket lube tray helps.
2. Lube the bottom housing
Dip your brush, tap off excess (you want a film, not a blob), and paint the two vertical rails inside the bottom housing where the stem slides. Two strokes per rail. Do not lube the centre post where the spring sits — lube there gets in the spring and makes a mess.
3. Lube the stem legs
Paint a thin coat on each of the four sides of the stem's slider legs (the parts that contact the rails). Skip the very tip where the leaf contacts on tactiles. For pure linears, you can also lightly lube the stem rails. Skip the cross at the top (the keycap mount).
4. Lube the spring
The biggest single noise reduction comes from the spring. Two methods:
- Bag lube (fast): drop 24 springs into a sandwich bag with 3–4 drops of Krytox 105 oil, shake for 30 seconds, leave to dry on a paper towel for 10 minutes.
- Brush lube (slower, more consistent): paint a very light film down one side of each spring. Tedious but ideal for low-volume careful jobs.
5. Lube your stabs while you're at it
If you're tearing apart a board to lube switches, this is the perfect moment to also tune the stabilizers. They make a bigger sound difference per minute of work than switches do — see stabilizers 101 for the band-aid mod and wire-lube workflow.
6. Reassemble
Drop the spring into the bottom housing, stem over the spring (cross facing up), top housing pressed down until all four clips snap. If a clip doesn't snap, your stem is misaligned — don't force it, re-seat the stem.
7. Test your work
Before installing into the keyboard, press the lubed switch a few times in your hand or on a switch tester. It should feel smoother and quieter than stock, snappier on the return, and have no scratch. If it feels mushy or sluggish — you used too much lube. Open it back up and remove some.
8. Install and repeat
Hot-swap the lubed switch back into the board. Type a sentence on the lubed key vs an adjacent un-lubed one. The difference should be obvious. Now do the other 99.
Common mistakes
- Too much lube. The #1 error. A lubed switch should still feel snappy. If it feels sluggish or mushy, you used too much. Less is more.
- Lubing the stem legs on tactiles. You'll dampen the bump. Either skip the legs or use a very light touch.
- Forgetting the spring. Biggest source of remaining noise after stem/housing are done. Bag-lube with 105 is fast and transformative.
- Using the wrong lube. Silicone-based lubes (SuperLube, etc.) will degrade MX housings over time. Stick with community-tested Krytox/Tribosys.
- Lubing clicky switches. Don't. We said this already. Don't.
When NOT to lube
- Brand-new factory-lubed switches. You're paying for the work; verify the stock feel first before adding more lube on top.
- Switches you're about to return or resell. Lube is (practically speaking) permanent — you can't sell them as "new."
- Brand-new tactile switches where you don't know if you like the stock bump yet. Try them first.
Quick sanity check
If you:
- have a factory-lubed switch,
- on a well-mounted modern board,
- with lubed stabs,
…and you want to lube the switches anyway — spend an hour on a test batch of 10 first. Compare lubed vs stock side by side. If you can't meaningfully hear or feel the difference, save yourself the 10 hours on the full board.
FAQ
How long does lubed lube last? Krytox 205g0 effectively forever for normal home use — it doesn't migrate or dry out at room temperature. You won't need to re-lube unless you notice a specific switch starting to scratch again, which usually means dust got in.
Can I lube switches without opening them? No useful way. The "spray-from-the-top" trick produces no real difference because the lube can't reach the rails or spring. Every legitimate workflow involves opening the switch.
Should I lube hot-swap switches I'm only trying briefly? No. Lube is effectively permanent — you can't sell them as new afterwards. Lube only switches you've decided to keep.
Is hand-lubing worth it on factory-lubed switches? Usually not — the gain is small (5–10% smoother) and the effort is the same. Lube tactiles factory-lubed only if you specifically want a sharper bump (use Tribosys 3203, very light coat).
- Switches 101 — family choice comes before lubing.
- Stabilizers 101 — almost always a bigger quality-of-life upgrade than lubing switches.
- Mounting styles explained — mount and foam changes usually move the sound needle more than lube does.
Our 2026 picks
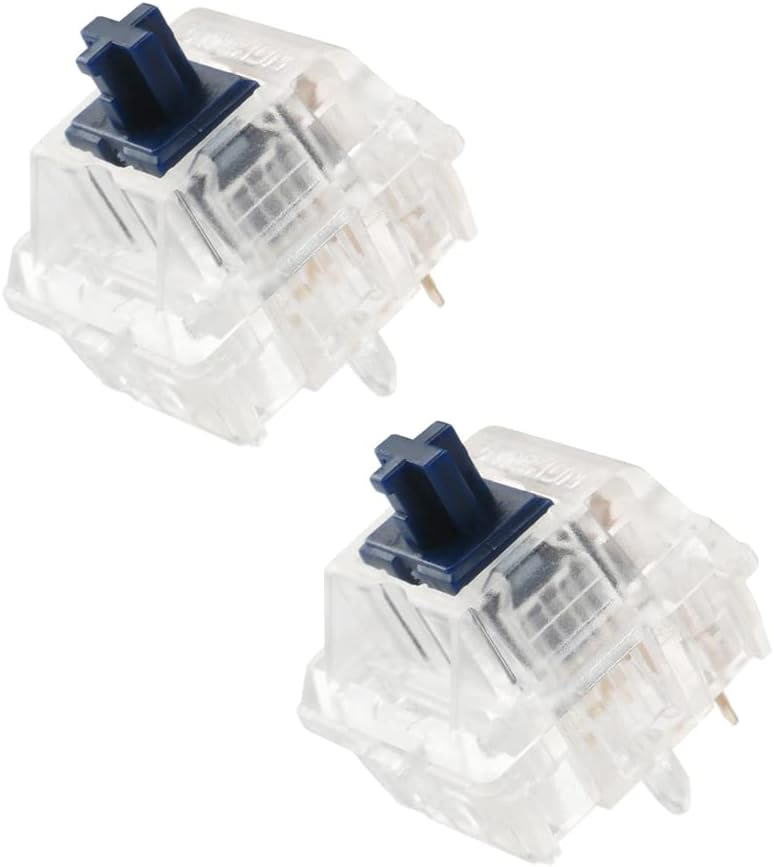
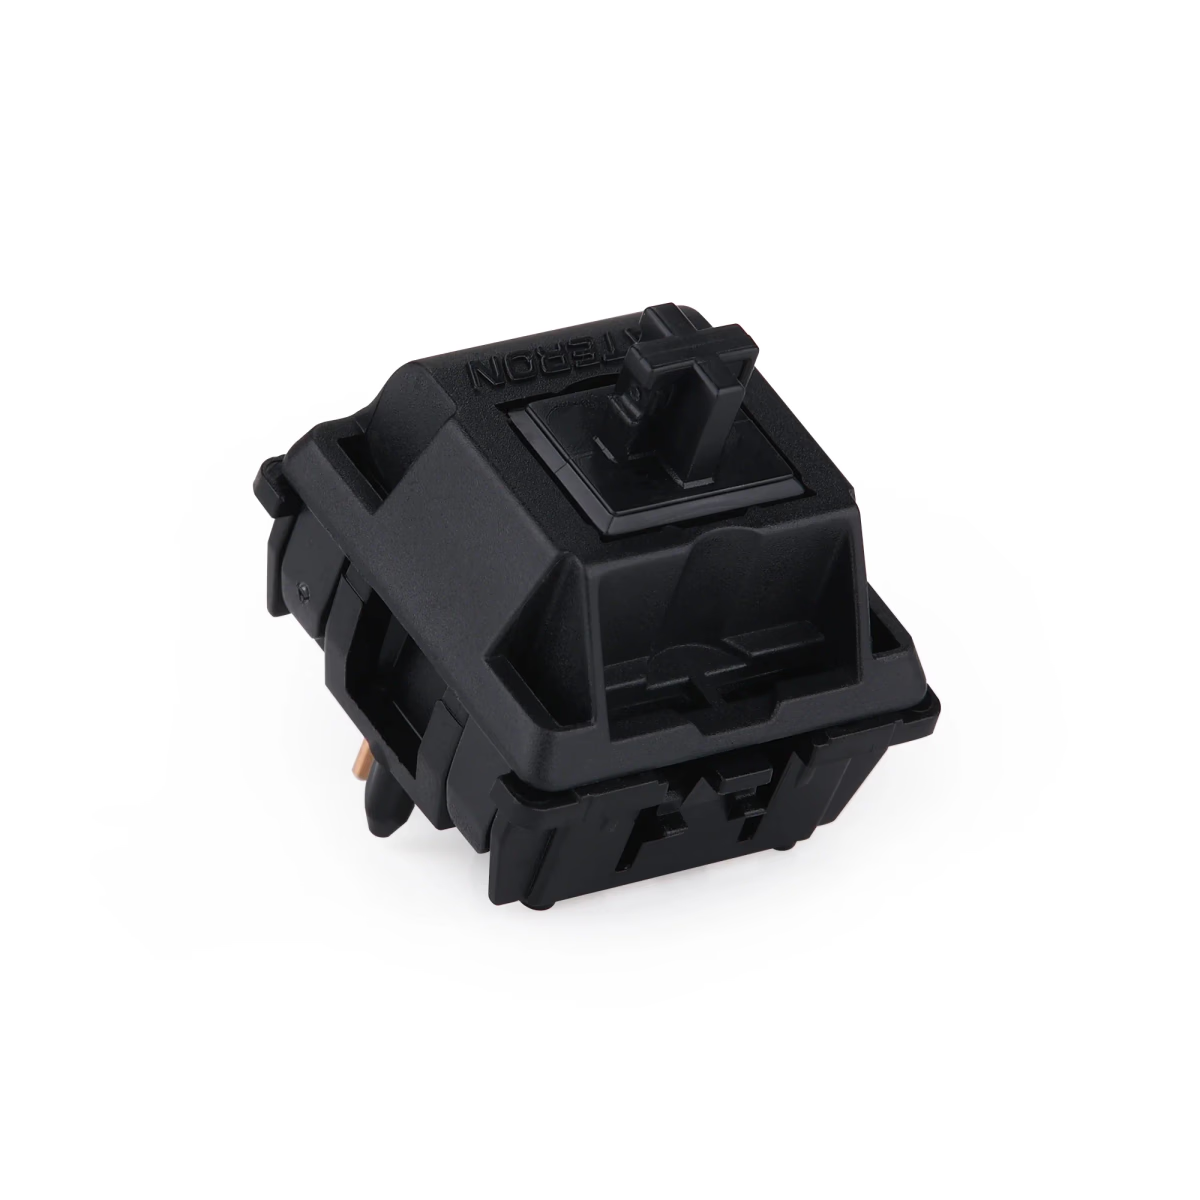
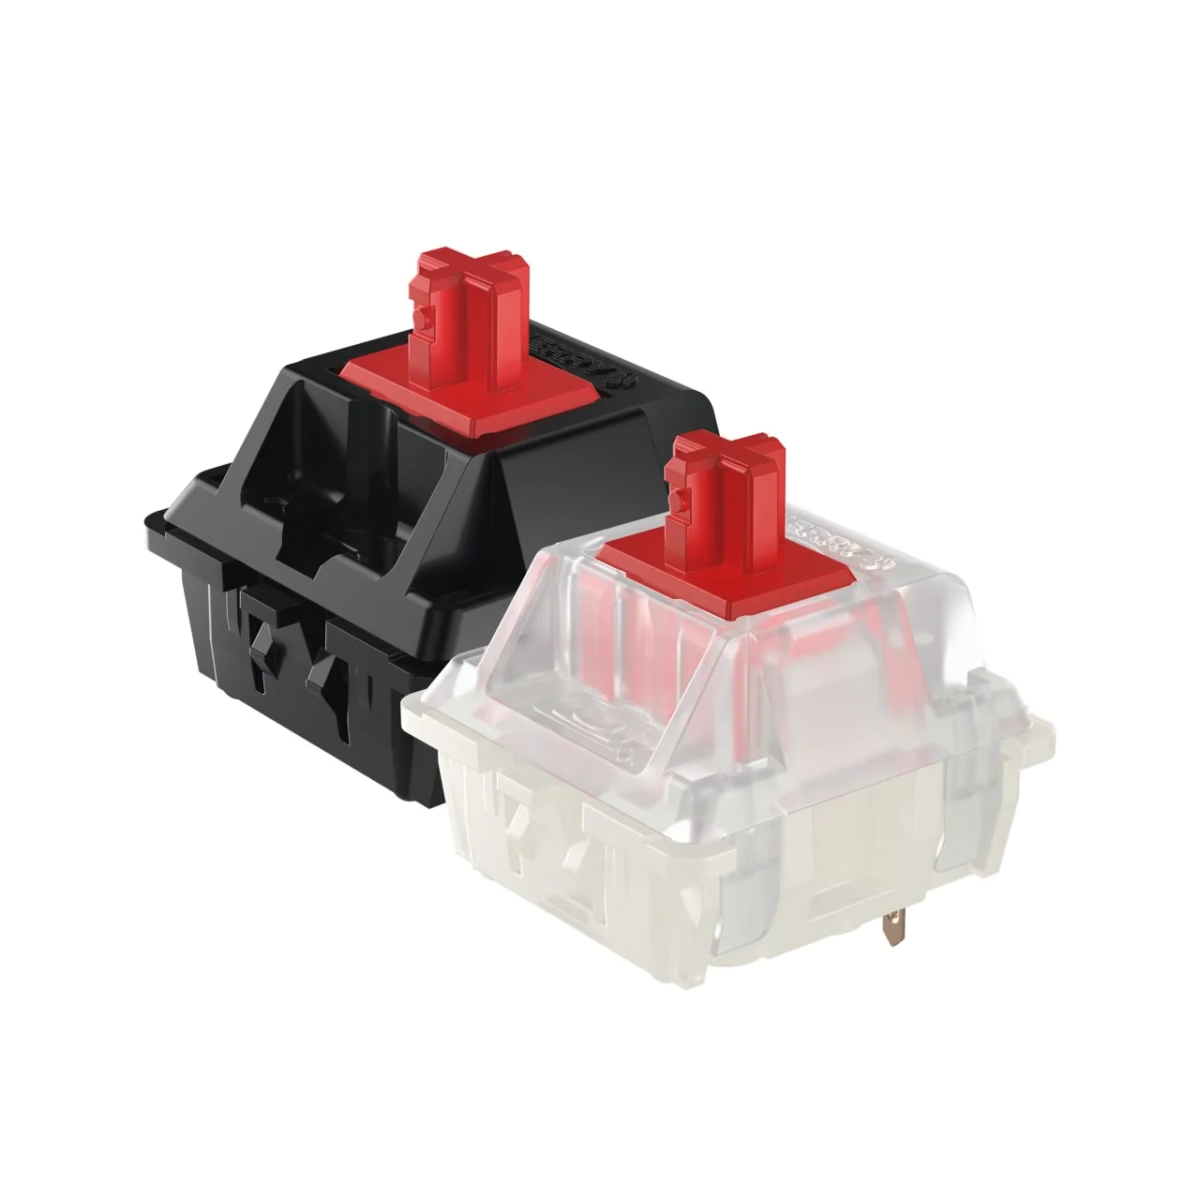
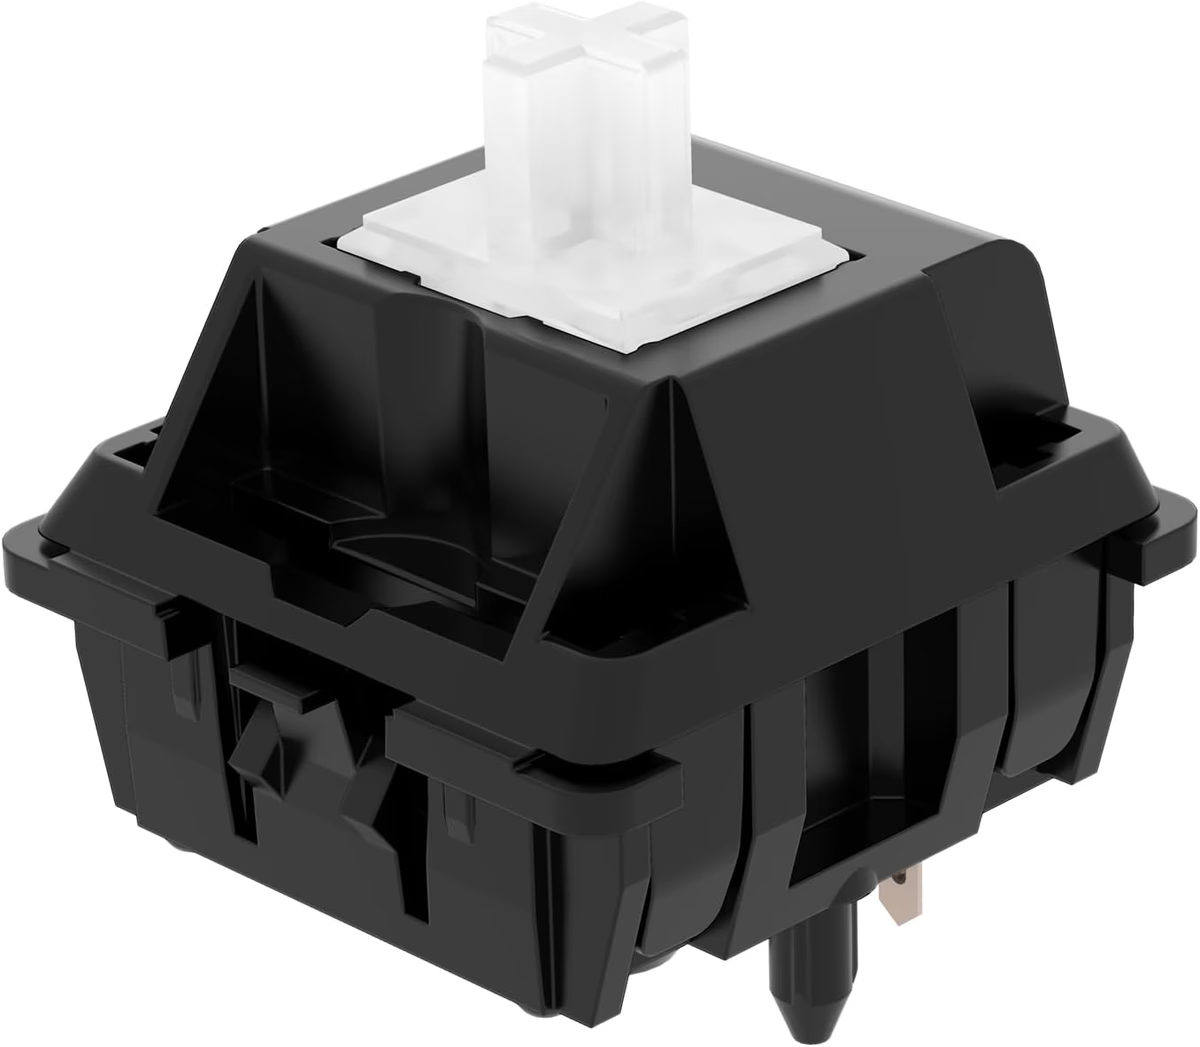
See all 199 switches in the database
Compare specs, view history, see stats and vendor prices — the tools back you up past this article.
Keep exploring